Introduction
The blower motor is vital for your car’s A/C system, circulating air to regulate temperature. A faulty motor can disrupt the entire system. This guide explains how to replace it.
Essential Tools
You’ll need these tools for blower motor replacement:
For removing screws securing the blower motor housing.
For handling components and connectors.
For bolts, sizes vary by car model.
Gloves and safety goggles for safety.
Consult your vehicle’s repair manual and follow safety guidelines.
Step-by-Step Blower Motor Replacement Guide
1 Disconnect Power & Unplug the Connector
Before beginning any repair work, ensure your vehicle is turned off. Then, locate and unplug the blower motor’s electrical connector to prevent electrical hazards. This critical step ensures the blower motor cannot accidentally power on during the process.
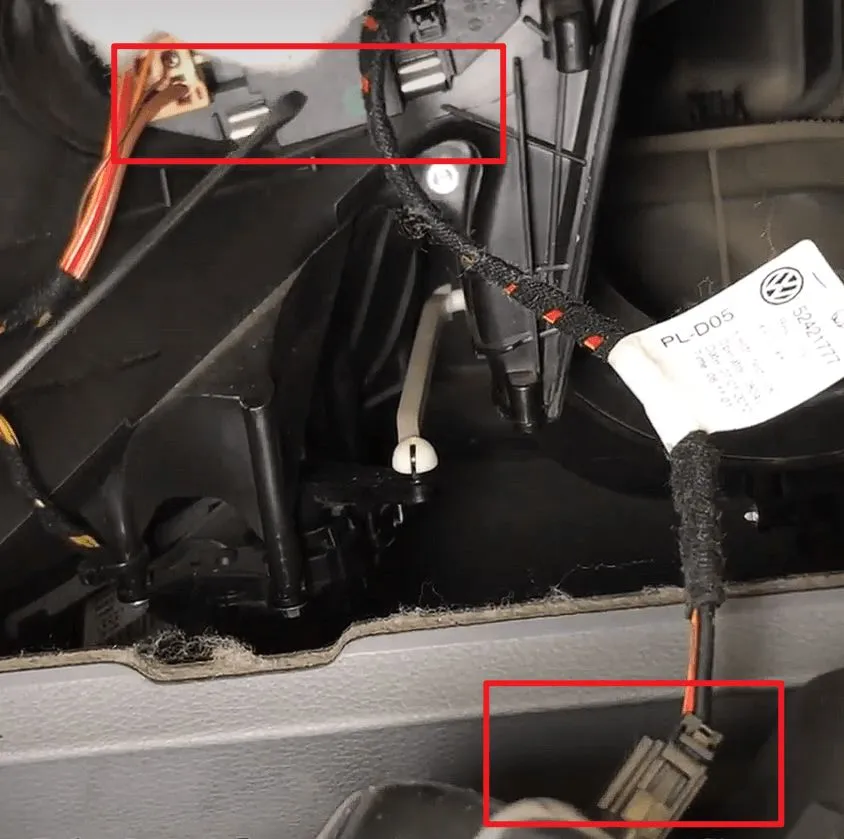
Figure 1: Location of the blower motor power connector.
Consider using a diagnostic tool to check for any existing fault codes. This helps confirm whether the issue is indeed related to the blower motor or another component.
2 Remove Associated Components
Next, you’ll need to remove any components obstructing access to the blower motor. Typically, this involves removing the lower dashboard cover on the passenger side. Once exposed, detach the blower motor cover and its two-pin electrical connector. Finally, remove the mounting bolts on the blower motor flange to extract the old motor.
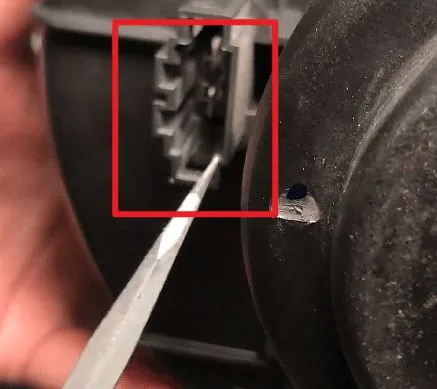
Figure 2: Disconnecting the two-pin connector from the blower motor.
Disassembly steps and component locations can vary significantly by vehicle model. Always consult your specific vehicle repair manual for accurate instructions.
3 Extract the Old Blower Motor
With access clear, use a Phillips screwdriver to remove the screws holding the blower motor in place. Carefully pull the motor out once it’s loose. If you encounter resistance, a light tap with a rubber mallet can help free the motor without causing damage.

Figure 3: The blower motor removed from the vehicle.
Before attempting to extract the motor, ensure all electrical connectors and mounting screws are completely disconnected and removed.
4 Install the New Blower Motor
Carefully fit your new blower motor into its housing and secure it with the screws you removed earlier. Reconnect the power plug and double-check all wiring connections to ensure they are firm and correctly routed. Also, make sure the fan blades are oriented in the correct direction for smooth and efficient airflow.
Quality Tip
Ensure all connections are secure to prevent future issues.
5 Test and Confirm Functionality
After installing the new blower motor, start your car and test its performance. Adjust your A/C settings through various fan speeds and temperature controls. Verify that the airflow strength is adequate and temperature regulation is working correctly.
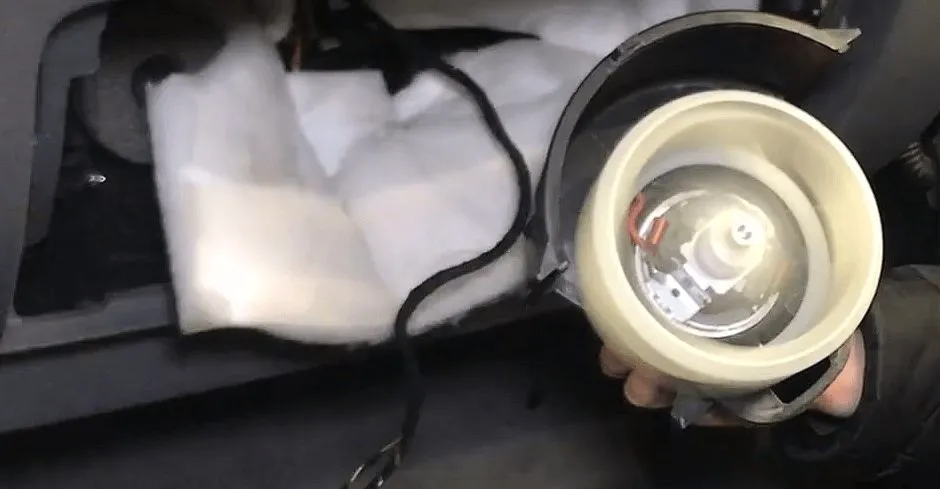
Figure 4: Testing the blower motor’s functionality after installation.
If the new blower motor doesn’t work, check the fuse related to the blower motor.
Common Issues
Blown Fuses
A blown fuse may prevent the blower motor from working. Check the fuse box and replace with the same amperage fuse.
Vehicle-Specific Notes
For some vehicles, like the Buick Excelle, access the blower motor via the engine compartment. Use screwdrivers and pliers carefully.
Conclusion
Replacing a blower motor is manageable with the right steps. Regular maintenance of A/C components like the cabin air filter helps prevent issues. Consult a professional if unsure.